Documentation Index
Fetch the complete documentation index at: https://help.appy.ai/llms.txt
Use this file to discover all available pages before exploring further.

How Preferences Work
When someone signs up to use your agent, they’ll go through a simple onboarding process where you can ask them for their preferences, requirements, or personal details. This information gets saved to their profile and your agent automatically uses it in every conversation - no need to ask the same questions over and over.Real-World Example
Imagine you’re building an agent that helps people find shelter kittens for adoption. Instead of asking “What breed do you prefer?” in every conversation, you can set up preferences to store:- Preferred breed
- Location/zip code
- Age preference (kitten vs adult)
- Size preference
- Color preferences
- Any special needs they can accommodate
Types of Preferences
Here are just a few ideas for preferences to collect from you subscribers:Basic Information
- Location/zip code
- Industry or profession
- Company size
- Experience level
Requirements
- Budget ranges
- Preferred communication style
- Specific needs or constraints
- Goals and objectives
Integration Details
- API keys for services
- Account information
- Custom URLs or endpoints
- Third-party credentials
User Experience
Once you’ve set up preferences, new customers will see required settings during their onboarding. They can update their preferences anytime in their account settings, and the changes will immediately affect how your agent responds to them. Your agent automatically has access to all of this personalized information in every conversation, making each interaction feel tailored specifically to that user.Configure with Violet (Chat)
Ask Violet to set up preferences:- “Create a preference for the user’s location and make it required”
- “Add a dropdown preference for industry with options: Tech, Healthcare, Finance, Retail”
- “Set up preferences to collect budget range and company size during onboarding”
- “Make sure my agent references the user’s preferred communication style in every interaction”
Configure Manually
Access preferences directly through Preferences: Click the + to add a preference that users will provide during onboarding.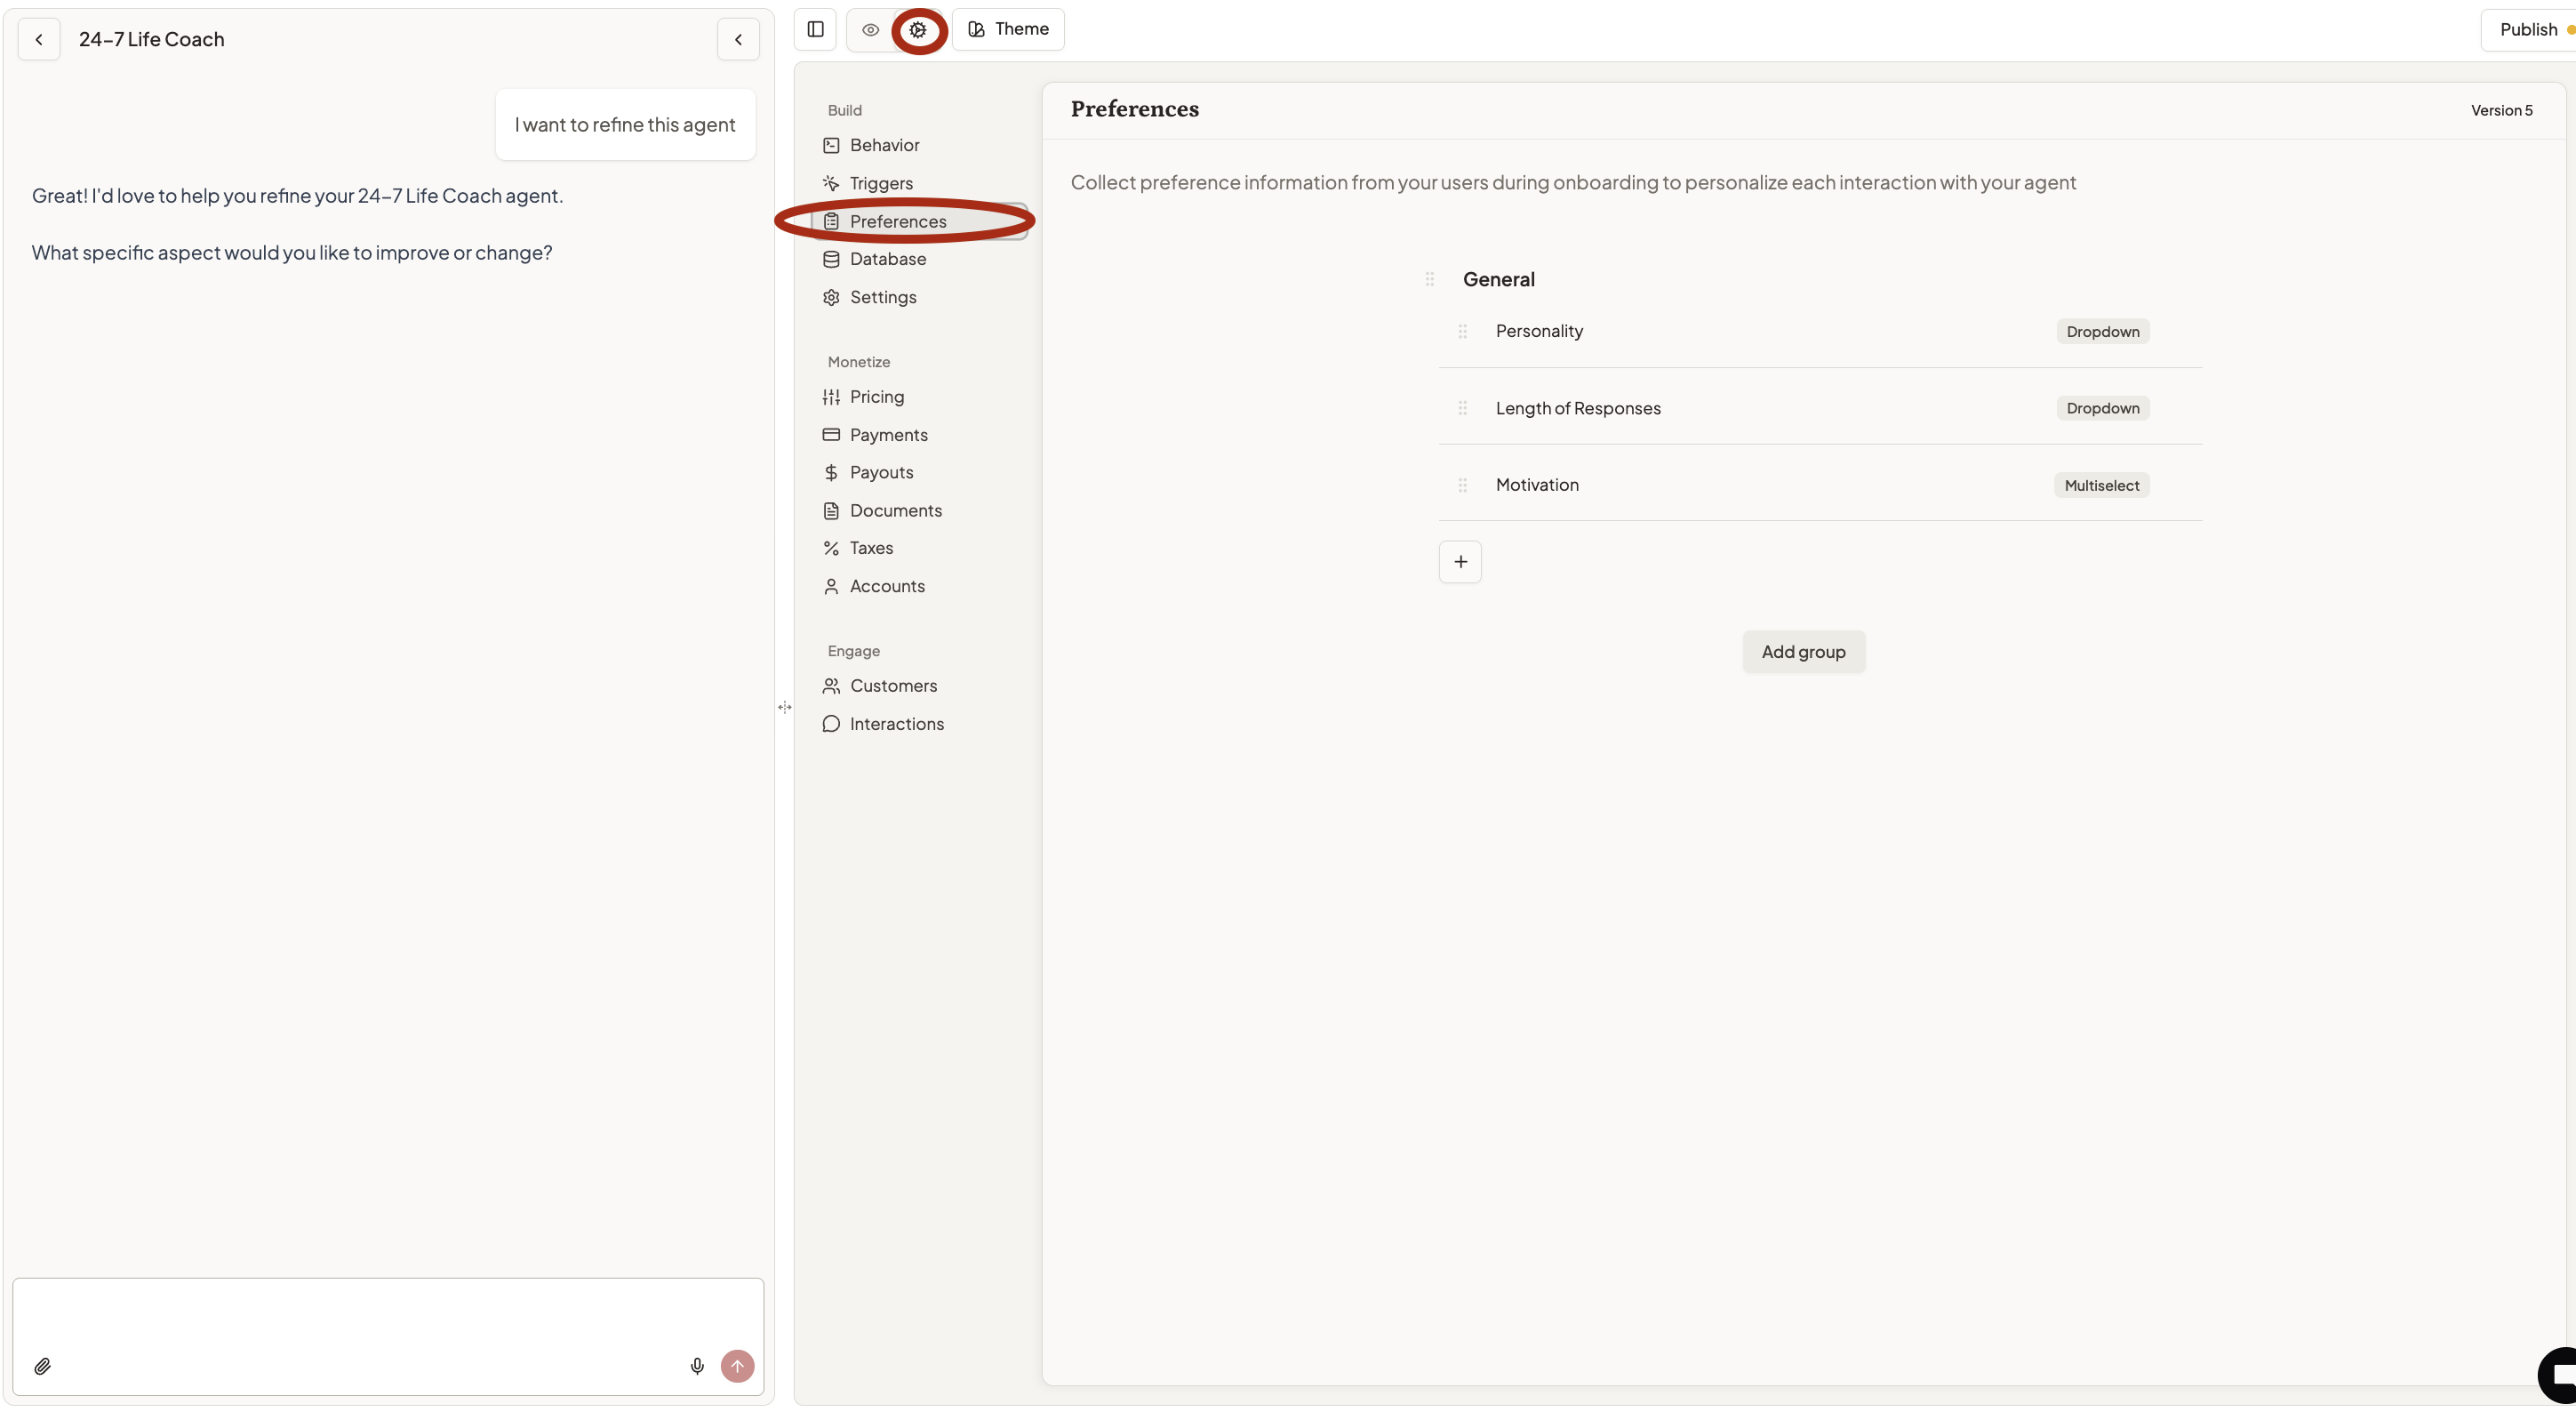
Preference Options
- Group: Organize related settings together for a cleaner onboarding experience
- Name: Create the label that your customer will see (e.g. Zip Code, or “What is your location?”)
- Type: Choose from text, dropdown, number, or other input types
- Description: Provide instructions that will help your customers understand what to enter
- Default Value: Pre-fill common answers to make onboarding faster
- Help URL: Link to additional explanation if needed
- Required: Select if customers must provide this information to continue
Your users see all preferences during their onboarding, and must completed required preferences before using their agent
Instructing the Agent
Include a simple tag in your agent’s behavior so that it knows to reference these preferences. Type @ and use the dropdown list or click the curly brackets in the text editor. Add @User Preferences for the agent to reference all preferences.Select a specific preference to more narrowly focus

Getting Started
- Think about what makes each customer unique for your specific use case
- Start with 3-5 essential settings - you can always add more later
- Create clear, helpful descriptions for each setting
- Update your agent’s instructions to reference the preferences data (@ mention ‘User Preferences’ in the instructions)